Minimalist Nail Art Ideas: Five Simple Designs and Safe Steps

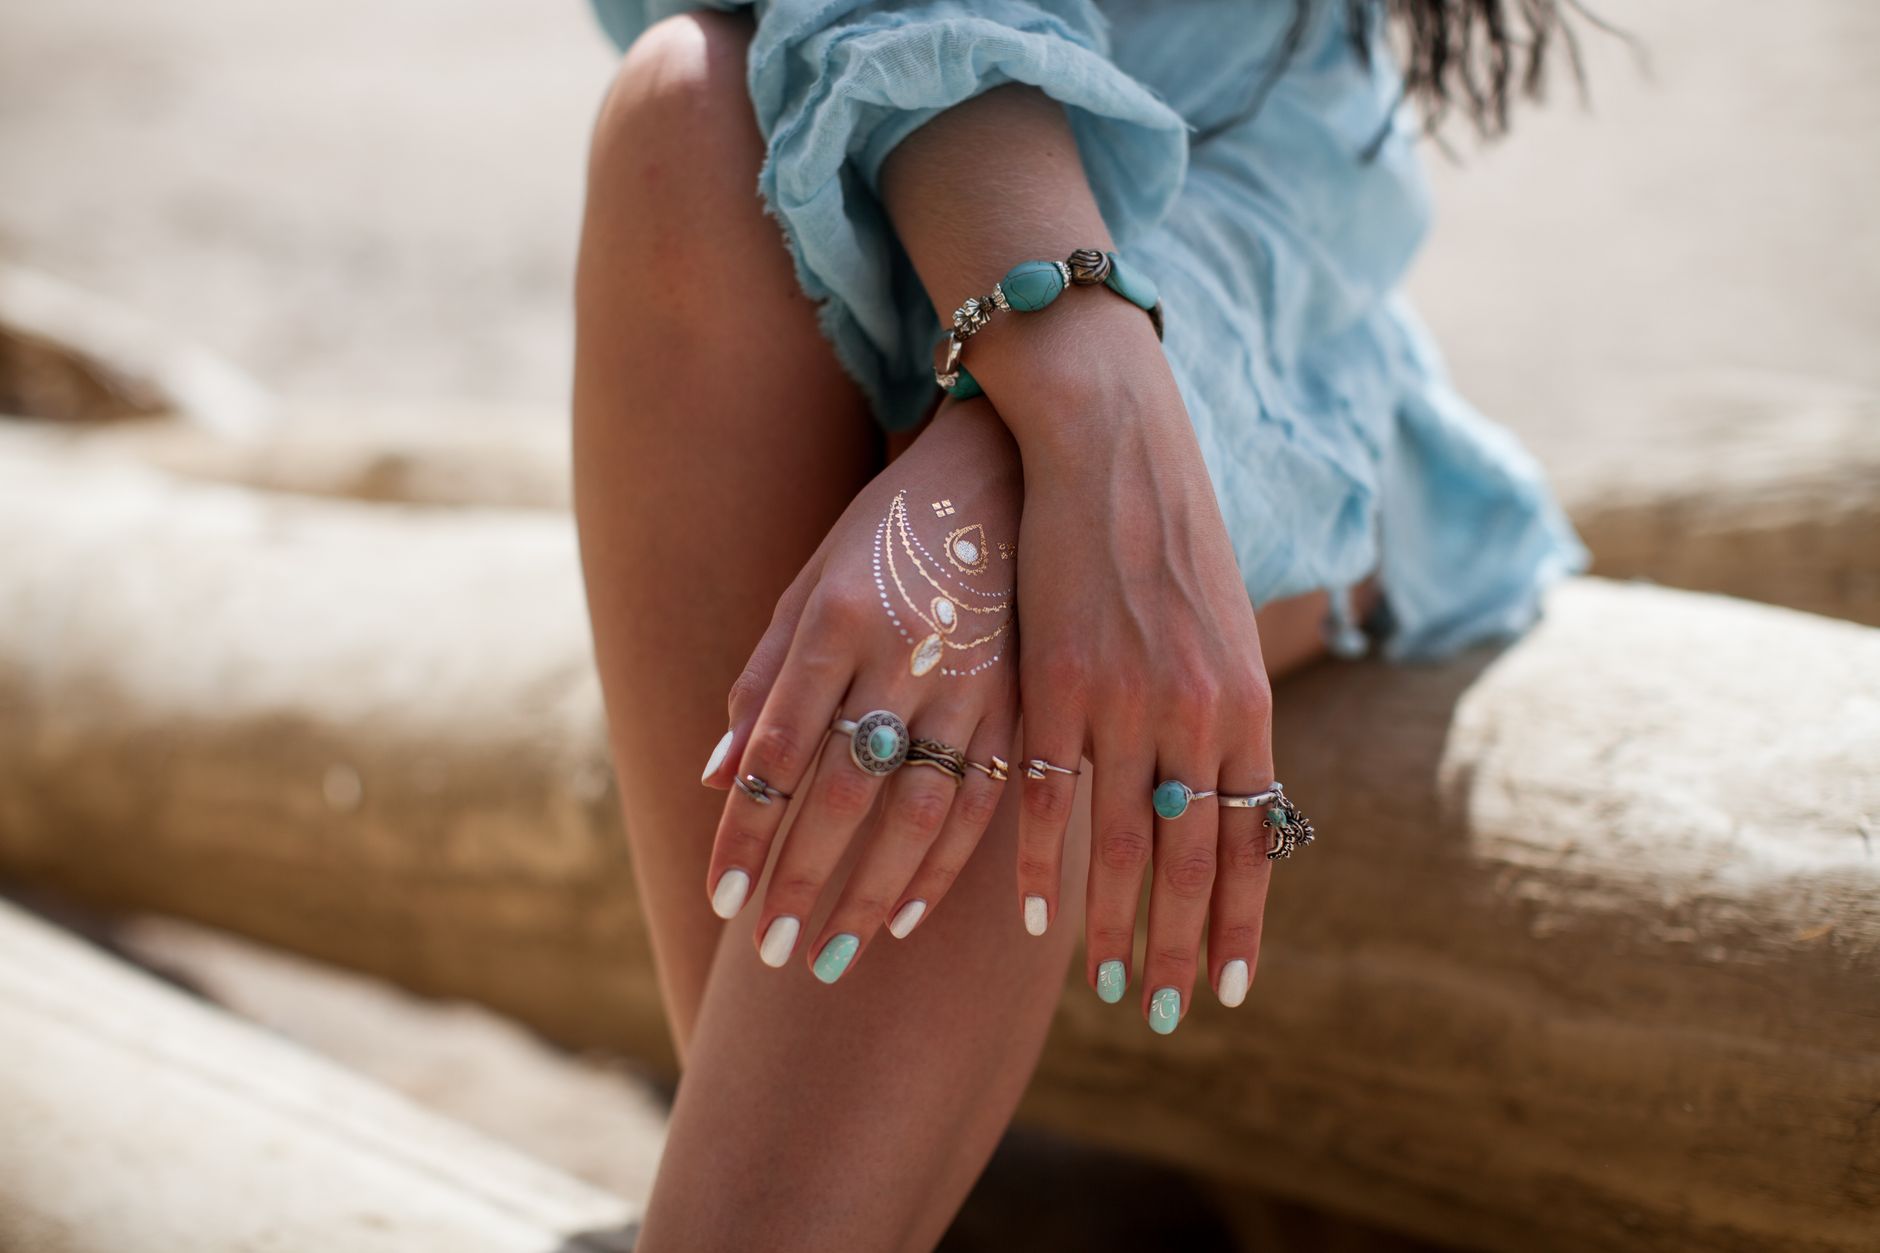
Minimalist nail art uses one controlled detail—a dot, narrow tip, fine line, or small area of color—to create a finished look without requiring a large polish collection. The most useful design is not the one labeled as a seasonal “must-have,” but one that fits your available time, nail condition, tools, and removal plan.
Choose a design by difficulty and maintenance
| Design | Tool | Control level | Easy adjustment |
|---|---|---|---|
| Single dot | Dotting tool or rounded pin head | Beginner | Use one dot only on accent nails |
| Micro French tip | Fine brush and cleanup brush | Intermediate | Follow the natural free edge |
| Vertical line | Striping brush | Intermediate | Place on one or two nails |
| Half-moon space | Polish brush or guide | Intermediate | Use a sheer base to soften edges |
| Tonal set | Standard polish brush | Beginner | Alternate two neighboring shades |
Build a small kit instead of buying a full set
- A base coat and compatible top coat
- One sheer or neutral polish and one contrasting color
- A fine brush or dotting tool
- A small cleanup brush and the remover specified for the product
- Lint-free pads, soap, and a clean towel
Check product directions rather than assuming all layers work together. Thin coats are generally easier to control than one thick coat, but drying or curing requirements depend on the product. Do not mix ordinary polish, gel, adhesives, or lamps unless their directions say they are compatible.
Prepare the workspace and nails
- Work in a well-ventilated area away from flames and heat, following label warnings.
- Wash and dry your hands, then clean reusable tools before use.
- Look for pain, swelling, broken skin, lifting, or a new color or texture change before covering the nail.
- Shape gently. Avoid aggressive filing of the nail surface.
- Leave cuticles intact. The CDC and American Academy of Dermatology describe cuticles as a protective barrier against infection.
Five designs with repeatable steps
1. Single-dot placement
Apply the base and allow it to set according to directions. Put a small amount of accent color on a disposable surface. Touch the tool lightly to the polish and place one dot near the center or base of each nail. Test pressure on paper first; extra pressure usually makes a wider dot.
2. Micro French tip
Use the natural free edge as a guide. Paint a narrow line from each side toward the center rather than trying to complete the curve in one stroke. A contrasting tip works on a clear base; a low-contrast pairing makes minor differences less visible.
3. One-line accent
Rest the painting hand on a stable surface. Draw one vertical or diagonal line on one or two nails and leave the others plain. If freehand control is difficult, choose a short line instead of adding more passes that thicken it.
4. Negative-space half moon
Leave a small curved area near the base unpainted. This does not require cutting or pushing the cuticle. Use a sheer base if you want the boundary to appear softer, and keep polish off surrounding skin as directed by the label.
5. Two-color tonal set
Select two shades from the same color family and alternate them across the hand. This creates variation without special tools. Compare colors after they dry on a sample because bottle color and finished color can differ.
Adapt color without rebuilding the design
Keep the pattern fixed and change only the accent color. Muted greens or blues can provide a cool contrast; clay, berry, or brown can create a warmer effect; silver or gold can be reserved for one line or dot. These are styling options, not rules tied to a particular season or skin tone. The useful test is whether the finished contrast is visible at the distance you prefer.
Salon hygiene questions worth asking
Look for a clean work area and ask how reusable tools are cleaned between clients. The CDC advises cleaning personal grooming tools before use and sterilizing shared salon tools. The American Academy of Dermatology also advises checking tool hygiene and leaving cuticles intact. For dip powder, avoid placing fingers into a shared container; ask whether powder is portioned into a disposable container or applied without shared dipping.
Gel, curing lamps, and removal require a separate decision
A design idea does not require gel. Traditional polish may be the simpler option when easy removal is the priority. The American Academy of Dermatology notes that repeated gel use can contribute to brittleness, peeling, and cracking. Its guidance recommends not picking gel off, limiting acetone contact to the fingertips during removal, moisturizing afterward, and considering breaks between gel manicures.
If a curing lamp is involved, follow the product system’s directions and consider the AAD’s sun-protection guidance for the hands. Do not improvise curing time or use an unrelated lamp simply because the polish remains soft.
Stop and leave the nail uncovered when something changes
Remove the product as directed and stop use if redness, itching, swelling, pain, blistering, or another reaction develops. Do not repeatedly hide a persistent dark streak, separation, thickening, unusual texture, or color change under polish or an artificial nail. These changes can have many causes, but an appropriate health professional should evaluate a persistent or concerning problem.
A practical 20-minute version
- Choose a two-color tonal set or one dot on each ring finger.
- Prepare only the tools required for that design.
- Apply thin layers according to product directions.
- Skip extra detail if the first accent is uneven; simplicity is the design constraint.
- Photograph the products used so you can identify them if irritation develops.
More practical guides
Sources and methodology
Editorial method, reviewed August 14, 2026: each design was selected for repeatability, low tool requirements, and clear removal steps. Safety guidance is based on the cited FDA, CDC, and dermatology resources; individual health concerns require appropriate professional care.


